ALDI’s Take and Bake Pizza offers a convenient, delicious meal solution. Pre-made with high-quality ingredients, it bakes in your oven for a fresh, homemade taste at an affordable price.
Overview of ALDI’s Take and Bake Pizza
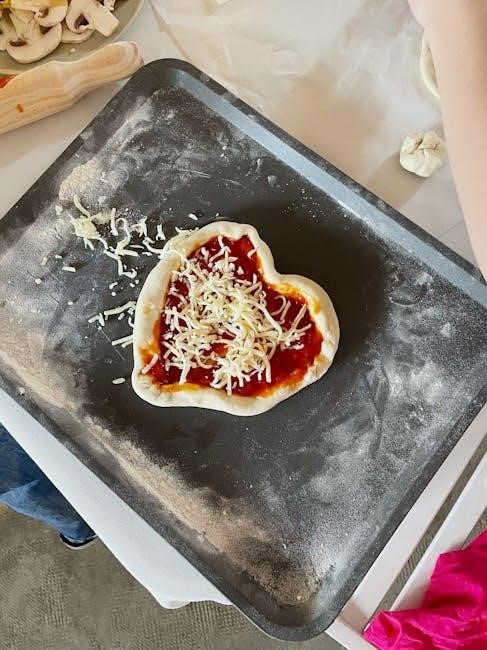
ALDI’s Take and Bake Pizza is a popular, convenient meal option that combines quality and affordability. These pizzas are pre-made with fresh ingredients and come in various flavors, such as cheese, pepperoni, sausage, and specialty options like beef Philly steak. Designed for home baking, they offer a crispy crust and flavorful toppings that cater to diverse tastes. The pizzas are easy to prepare, requiring only an oven and basic baking tools. With a focus on simplicity, ALDI’s Take and Bake Pizzas are perfect for busy households, family dinners, or quick meals. They also allow customization, as users can add their preferred toppings before baking. This product has gained a loyal following for its balance of taste, convenience, and value, making it a staple in many shoppers’ grocery lists. Its versatility ensures it meets the needs of both casual and special occasions.
Why Choose ALDI’s Take and Bake Pizza?
ALDI’s Take and Bake Pizza is a top choice for many due to its exceptional value and quality. It offers a homemade taste without the hassle of from-scratch preparation. The pizzas are made with fresh, high-quality ingredients, ensuring a delicious result every time; With various flavors available, there’s something for everyone, from classic options like cheese and pepperoni to hearty meat combinations. The convenience factor is significant—simply thaw, bake, and serve. This makes it ideal for busy families, students, and anyone seeking a quick yet satisfying meal. Additionally, ALDI’s affordable pricing makes it a budget-friendly option without compromising on taste. The ability to customize toppings further enhances its appeal, allowing users to tailor the pizza to their preferences. Overall, it’s a practical and tasty solution for any mealtime needs.

Materials Needed for Baking
- Oven
- Baking sheet
- Oven mitts
- Pizza cutter or knife
- Timer (optional)
To bake ALDI’s Take and Bake Pizza, you’ll need an oven, a baking sheet, oven mitts, and a pizza cutter. A timer is optional but helpful.
Oven Requirements
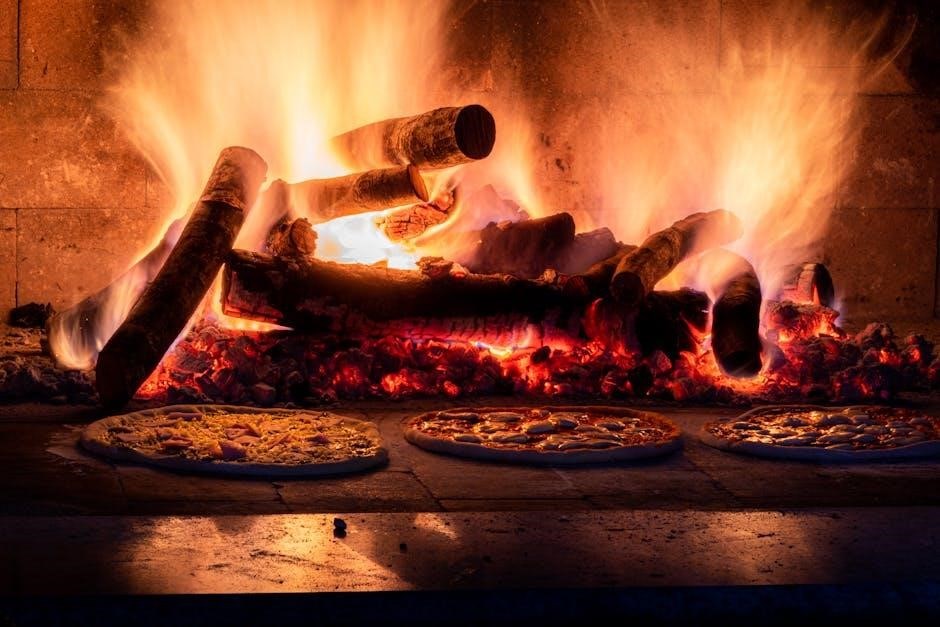
To achieve the best results when baking ALDI’s Take and Bake Pizza, ensure your oven is preheated to the recommended temperature, typically between 375°F and 425°F. Preheating is essential for even cooking and a crispy crust. Place the pizza directly on the middle rack to avoid uneven heating. If you prefer a crisper crust, some users suggest baking at higher temperatures, such as 450°F or 550°F, though this may require closer monitoring to prevent burning. Always preheat your oven for at least 10-15 minutes before baking to ensure consistent heat distribution. For optimal results, use a standard home oven, as toaster ovens may not provide enough space or even heat for larger pizzas. Proper oven preparation ensures a perfectly cooked pizza with a golden-brown crust and melted cheese.
Baking Surfaces and Tools
For baking ALDI’s Take and Bake Pizza, a standard oven rack or baking sheet is recommended. Placing the pizza directly on the middle rack ensures even cooking and a crispy crust. Some users prefer using a baking sheet lined with parchment paper to catch any excess cheese or toppings, making cleanup easier. A pizza stone can also be used for a crisper crust; preheat it in the oven before placing the pizza on it. Avoid using air fryers or toaster ovens, as they may not accommodate the pizza’s size or cook it evenly. Proper tools like oven mitts and a pizza cutter are essential for safe handling and serving. Using the right baking surface enhances the pizza’s texture and ensures a evenly cooked meal.
Step-by-Step Baking Instructions
Preheat the oven, thaw the pizza, remove packaging, and place on a baking sheet or rack. Bake at 375-400°F for 12-18 minutes, monitoring until golden and bubbly.
Preheating the Oven
Preheating your oven is the first step to achieving a perfectly baked ALDI Take and Bake Pizza. Set your oven to 375°F (190°C), as recommended on the packaging, or slightly higher for a crisper crust. Allow the oven to preheat for 10-15 minutes to ensure even heat distribution. Some users prefer preheating to 400°F or even 550°F for a faster bake, but this may vary depending on your oven’s performance. Place a baking sheet or pizza stone in the oven during preheating to enhance crust crispiness. Once preheated, carefully place the pizza on the prepared surface and bake according to the recommended time, usually 12-18 minutes. Proper preheating ensures the pizza cooks evenly and develops a golden-brown crust. Always refer to the box instructions for specific temperature guidance, but feel free to adjust based on your oven’s capabilities and desired crispiness.
Thawing the Pizza
Thawing your ALDI Take and Bake Pizza is an important step for even cooking. Remove the pizza from the freezer and place it in the refrigerator overnight to thaw slowly. Alternatively, you can thaw it at room temperature for 2-3 hours before baking. Some users prefer to bake the pizza directly from the frozen state, but thawing ensures a crisper crust and better texture. If you choose to bake frozen, increase the cooking time by 2-3 minutes. Always handle the pizza gently to avoid damaging the dough or toppings. Proper thawing helps the pizza bake evenly and prevents a soggy crust. For best results, follow the thawing method recommended on the packaging or opt for your preferred approach based on convenience and time availability.
Removing Packaging
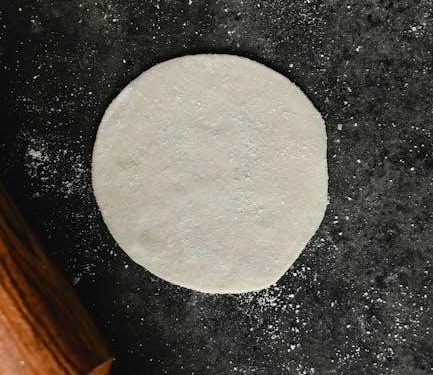
Before baking, carefully remove the ALDI Take and Bake Pizza from its packaging. Start by cutting open the plastic wrap or cardboard packaging using scissors or a knife. Gently lift the pizza out of the box, ensuring not to damage the crust or toppings. Some users find it helpful to place the pizza on a baking sheet or oven rack immediately after removing it from the packaging. If the pizza is on a cardboard circle, you can leave it on for baking, but it’s recommended to transfer it directly to the oven rack for a crisper crust. Be cautious when handling the pizza, as the dough may be delicate. Once the packaging is removed, your pizza is ready to be placed in the oven for baking. Properly dispose of all packaging materials before starting the baking process.

Placing the Pizza in the Oven
Once the oven is preheated and the pizza is thawed and unpackaged, carefully place the pizza in the oven. For best results, position the pizza directly on the center oven rack. If you prefer, you can place it on a baking sheet lined with parchment paper. Ensure the pizza is centered to avoid uneven cooking. Some users opt to leave the pizza on the cardboard circle provided, but removing it allows for a crisper crust. Gently slide the pizza onto the rack or baking sheet, making sure not to stretch or tear the dough. Handle the pizza with care to prevent toppings from shifting. If using oven mitts or tongs, place the pizza securely to avoid dropping it. Once positioned, close the oven door to begin baking. Proper placement ensures even cooking and prevents the crust from burning. Always use caution when handling hot surfaces or sharp objects.
Baking Time and Temperature
Preheat your oven to 375°F (190°C) for optimal results. Bake the pizza for 12-15 minutes, or until the cheese is melted and the crust is golden brown. Some users prefer baking at higher temperatures, such as 400-550°F (200-290°C), for a crisper crust. If baking at 400°F, expect a cooking time of 14-18 minutes, while 550°F reduces the time to about 10-12 minutes. Always monitor the pizza closely, especially at higher temperatures, to avoid burning. The pizza is done when the center cheese is fully melted and the crust edges are golden. Adjust the baking time based on your oven’s performance and desired crispiness. Let the pizza cool slightly before serving to ensure the cheese sets properly. For the best results, follow the package instructions or experiment to find your preferred texture.
Monitoring the Pizza
Monitoring the pizza while it bakes is crucial to ensure it cooks evenly and avoids burning. Check the pizza halfway through the recommended baking time to assess its progress. Look for the cheese to be fully melted and the crust to turn a golden brown. If baking at higher temperatures, keep a closer eye on it, as the crust can brown quickly. Avoid opening the oven door too frequently, as this can cause heat loss and uneven cooking. Use the oven light to observe without disrupting the cooking process. If needed, rotate the pizza for even browning. Once the cheese is bubbly and the crust is golden, carefully remove it from the oven. Proper monitoring ensures a perfectly cooked pizza every time. This step is essential for achieving the desired texture and flavor. Always stay attentive during the final minutes of baking.

Post-Baking Care
After baking, carefully remove the pizza from the oven using oven mitts and place it on a heat-resistant surface. Let it cool for 2-3 minutes to ensure the cheese sets and the crust retains crispiness. Avoid slicing immediately to prevent sogginess. Cooling allows the flavors to meld and makes handling safer. Proper post-baking care ensures a enjoyable and mess-free dining experience. This step is essential for preserving the pizza’s texture and quality. Always prioritize safety when handling hot baked goods. Cooling also helps prevent burns and makes serving easier. It’s a simple yet important step in the process.

Removing from the Oven
Safely remove the pizza from the oven using oven mitts or a heat-resistant tool to avoid burns. Place it on a heat-resistant surface, such as a cutting board or baking sheet, to cool slightly. Letting it sit for a few minutes allows the cheese to set and the crust to retain crispiness. Avoid slicing immediately, as the cheese may stretch or burn. Use a pizza cutter or sharp knife to portion the pizza evenly. Proper handling ensures a clean and safe serving process. Always prioritize caution when dealing with hot baked goods. This step is crucial for maintaining the pizza’s quality and texture.
Cooling Before Serving
Cooling your ALDI Take and Bake Pizza briefly before serving is essential for the best experience. Let the pizza rest for 2-3 minutes after removing it from the oven. This allows the cheese to set, preventing it from stretching or oozing excessively when sliced. Place the pizza on a wire rack or heat-resistant surface to ensure air circulates underneath, which helps maintain a crispy crust. Avoid placing it directly on a plate or surface that could trap heat and make the crust soggy. Cooling also reduces the risk of burns from molten cheese. Once cooled slightly, use a pizza cutter or sharp knife to slice it evenly. Proper cooling enhances both texture and flavor, making the pizza more enjoyable to eat. This step is a simple yet crucial part of the serving process.
Serving and Enjoying
Your ALDI Take and Bake Pizza is now ready to be sliced and served! Add fresh toppings like herbs or a drizzle of sauce for extra flavor. Pair with a side salad or garlic bread for a complete meal. Perfect for family dinners or casual gatherings, it’s sure to satisfy everyone’s cravings. Enjoy the delicious homemade taste without the hassle of from-scratch preparation!
Suggested Toppings and Sides
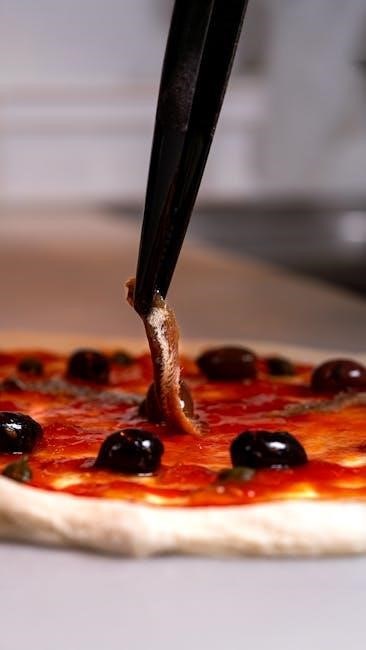
Enhance your ALDI Take and Bake Pizza with fresh toppings like basil, oregano, or red pepper flakes for added flavor. For a gourmet touch, try drizzling with olive oil or balsamic glaze. Add some crunch with a sprinkle of Parmesan cheese or crispy garlic. On the side, serve a simple green salad, roasted vegetables, or garlic bread for a well-rounded meal. For a hearty option, pair the pizza with chicken wings, onion rings, or a bowl of marinara dipping sauce. Let everyone customize their slices with their favorite toppings for a personalized dining experience. These additions make your pizza night fun and satisfying for the whole family!